Adding a traditional steam sauna to your home is more straightforward than many homeowners expect, especially when choosing a modular sauna cabin designed for residential installation.
However, a successful installation begins before the sauna arrives. The installation location, electrical supply, floor condition, ventilation, delivery path and model-specific clearances should all be confirmed in advance.
This guide focuses specifically on traditional Steam saunas that heat the surrounding air and sauna stones. Water may be carefully added to approved sauna stones to create short bursts of steam and adjust the humidity inside the cabin.
Key Takeaways
Before installing a traditional steam sauna:
- Confirm whether the selected model requires 120V or 240V power.
- Have a licensed electrician verify the circuit, breaker, receptacle and local electrical requirements.
- Choose a flat, stable and moisture-resistant installation surface.
- Measure the complete delivery path, including doors, hallways, stairs and corners.
- Inspect every package before beginning assembly.
- Follow the installation manual for the exact model rather than relying only on general instructions.
Most of our current traditional sauna models are designed for 240V electrical service. Depending on the product line and cabin size, selected compact models may use either 120V or 240V. Always verify the exact specifications shown on the product page, product label and installation manual.
1. Understand How a Traditional Steam Sauna Works
A traditional electric sauna heats sauna stones with an electric heater. The heated stones warm the air inside the cabin, and pouring a small amount of water over them creates steam for a hotter, more humid and authentic sauna experience.
This provides a hotter and more traditional sauna experience while allowing the user to adjust humidity during the session.
A traditional steam sauna should not be confused with a sealed steam room. Steam rooms normally rely on a separate steam generator and are designed around continuous, high humidity. Traditional saunas use wood interiors, higher air temperatures and controlled amounts of steam.
If your sauna model supports a separate steam generator or steam accessory, follow the dedicated electrical, drainage and installation instructions supplied with that component.
2. Choose the Right Location
The best sauna location is one that is convenient, structurally suitable and easy to connect to the required electrical service.
Before deciding, consider:
- Available floor space
- Ceiling height
- Electrical panel location
- Ventilation around the sauna
- Delivery and assembly access
- Moisture management
- Outdoor weather exposure
- Local building or HOA requirements
A sauna that is difficult to access is less likely to become part of your regular routine.
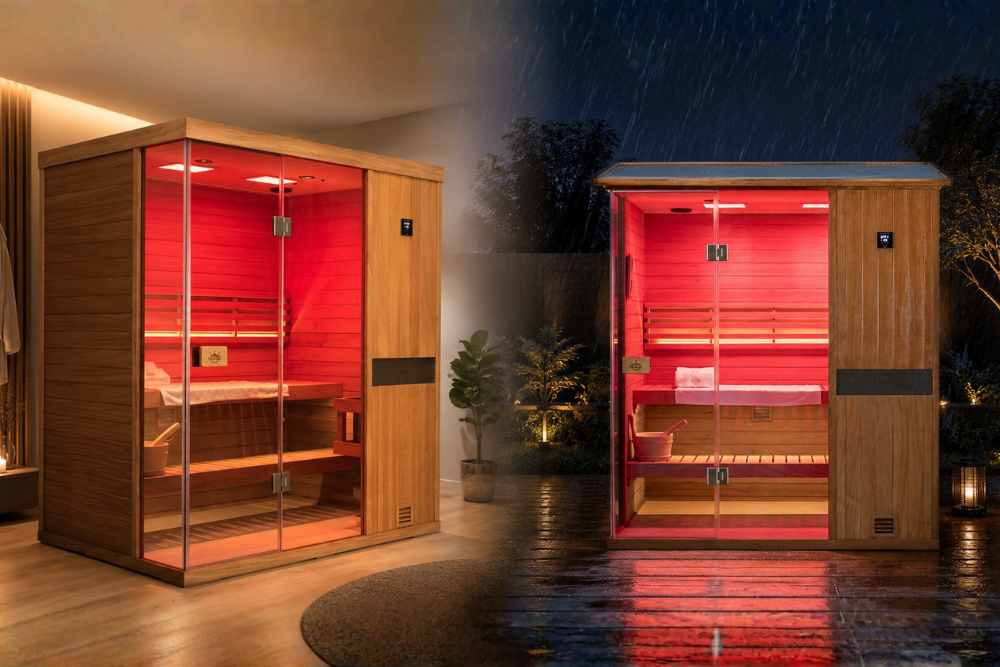
Indoor Sauna Locations
Common indoor locations include:
- A dry, well-ventilated bathroom or dressing area
- Basement
- Home gym
- Spare room
- Garage
- Dedicated wellness room
- Covered pool area
The floor should be flat, stable and easy to clean. Concrete, tile and other sealed, moisture-resistant surfaces are generally preferable.
Avoid installing a sauna directly on carpet. Carpet can retain moisture, create odors and make it more difficult to keep the sauna level.
The room surrounding the sauna should also have sufficient airflow. A traditional sauna produces heat and intermittent humidity, so the outer room should not be a tightly enclosed, unventilated space. Proper base preparation, airflow and manufacturer-defined clearances are central parts of sauna planning.
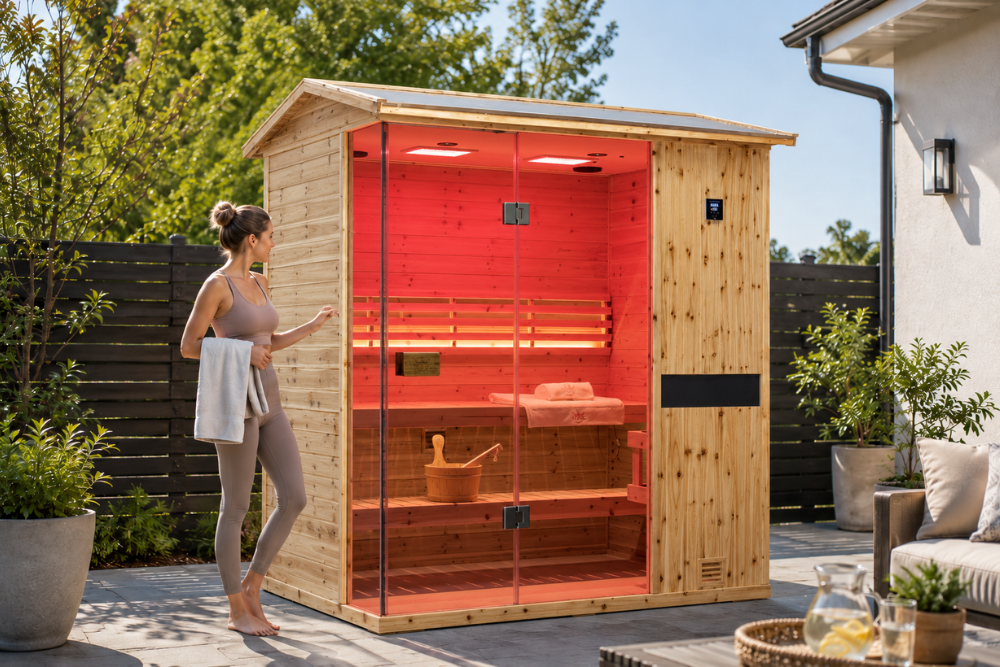
Outdoor Sauna Locations
Suitable outdoor locations may include:
- Concrete patios
- Reinforced decks
- Poolside areas
- Backyard wellness areas
- Covered terraces
- Level concrete or paved foundations
Outdoor sauna installation requires additional planning for:
- Rain and snow drainage
- Ground movement
- Sun exposure
- Electrical routing
- Wind exposure
- Property-line setbacks
- Access for delivery
An outdoor sauna should be installed on a stable, level and properly supported base. Do not place it directly on loose soil, grass or an uneven surface.
Use only a model specifically approved for outdoor installation. Indoor sauna cabins should not be moved outdoors unless the manufacturer expressly permits it.
3. Confirm the Electrical Requirements Before Delivery
Electrical preparation is one of the most important parts of the installation process.
240V Sauna Models
Most of our current sauna models are designed for 240V power. A 240V sauna may require:
- A dedicated electrical circuit
- A compatible receptacle or hardwired connection
- Correct wire gauge
- Code-compliant grounding
- GFCI protection where required
- Installation or inspection by a licensed electrician
The required amperage is not determined by voltage alone. Two 240V sauna models may have different wattage, amperage, breaker and connection requirements.
Always provide the electrician with the exact product specification sheet before electrical work begins.
120V Sauna Models
Some compact sauna models may be designed for 120V service. However, a 120V rating does not automatically mean that the sauna can share an ordinary household circuit with other appliances.
The electrician should still confirm:
- Required circuit amperage
- A dedicated electrical circuit
- Receptacle configuration
- Existing circuit load
- GFCI requirements
- Compliance with local code
Electrical Safety Rules
Never:
- Use an extension cord
- Use an unapproved plug adapter
- Modify the factory power cord
- Change the plug to fit an existing outlet
- Connect the sauna to an undersized breaker
- Bypass temperature sensors or safety devices
- Assume that two similar-looking plugs have the same rating
New 240V circuits and other electrical modifications may require permits or inspection depending on the jurisdiction. The model specification and local electrical code must take priority over general online advice.
4. Prepare the Floor and Installation Area
The sauna should stand on a surface that is:
- Flat
- Level
- Dry
- Structurally stable
- Capable of supporting the sauna and occupants
- Resistant to occasional moisture
Use a level to check the floor in multiple directions. An uneven base may affect panel alignment, roof placement and door operation.
Before assembly, confirm that there is sufficient space around and above the sauna. Do not rely only on the exterior dimensions of the cabin. Additional working space may be required to lift the roof, connect panels and access electrical components.
Follow the exact clearance requirements stated in the manual. Required clearances may vary by model, heater configuration and installation environment.
5. Plan for Ventilation and Heat Management
A traditional sauna should not be completely airtight.
Proper airflow helps:
- Provide fresh air for occupants
- Distribute heat more evenly
- Release residual humidity after use
- Allow interior wood to dry
- Protect electrical and control components
- Reduce stale odors
Do not cover factory ventilation openings with towels, furniture, trim or insulation.
After each session, allow the sauna to cool and dry according to the manufacturer’s instructions. Leaving the door partially open after use can help release retained heat and moisture.
The room outside an indoor sauna may also require general ventilation, especially when the sauna is installed in a basement, bathroom, closet-like space or other enclosed room.
6. Measure the Delivery Path
Checking the installation footprint is not enough. You must also confirm that every sauna component can reach the installation location.
Measure:
- Exterior doors
- Interior doors
- Hallways
- Stairways
- Elevators
- Ceiling height
- Tight corners
- Deck gates
- Side-yard access
- Garage access
Pay particular attention to the largest wall, roof and glass-door components.
If the sauna must be assembled outside the final room and then moved into position, confirm that the completed structure can pass through the available opening. In many cases, it is safer to bring the individual modules to the final location before completing assembly.
7. Inspect the Sauna When It Arrives
Saunas are commonly delivered in multiple cartons, crates or palletized sections.
Before signing for the shipment when possible:
- Inspect the exterior packaging.
- Photograph all sides of the shipment.
- Note punctures, crushed corners or visible impact damage.
- Confirm the number of cartons or crates.
- Record any visible damage with the carrier.
After delivery:
- Move all components to a covered, dry area.
- Compare the contents with the packing list.
- Inspect glass, wood panels, roof sections and electrical components.
- Keep the original packaging until assembly and testing are complete.
- Report missing or damaged components promptly.
Do not drag glass panels or place them flat on an uneven surface. Tempered glass should be handled carefully and kept supported during movement.
A documented inspection before assembly makes transportation claims and replacement-part requests much easier to process.
8. Assemble the Modular Sauna Cabin
The exact assembly sequence varies by model, so always follow the supplied manual and installation video.
A typical modular installation follows this order:
Step 1: Organize the Components
Identify the floor, wall modules, roof, front section, glass door, benches, heater, controls and hardware.
Do not remove labels until the corresponding section has been installed.
Step 2: Position and Level the Base
Place the floor or base section in the intended location.
Check that it sits firmly without rocking. Correct any floor-level issues before adding the wall sections.
Step 3: Install the Wall Sections
Install the wall modules in the order specified by the manual.
Keep the panels supported while connecting them. Do not force a panel into position. If the connection does not align, recheck the floor level, panel orientation and connection points.
Step 4: Install the Front Section and Door
The glass door or front wall may be one of the heaviest and most delicate components.
Use at least two capable adults to lift and support it. Confirm that the door:
- Opens outward
- Moves freely
- Does not scrape the floor
- Aligns correctly with the frame
- Can be opened easily from inside
Step 5: Install the Roof
Lift the roof only after the wall sections are correctly aligned and secured.
Confirm that interior lighting, controls, sensors or wiring are not pinched between the roof and wall sections.
Step 6: Install Benches and Accessories
Install the bench supports, bench panels, backrests, heater guard and included accessories according to the marked mounting positions.
Do not substitute longer screws or drill into unmarked areas unless instructed by the manufacturer.
Step 7: Install and Connect the Heater
The heater must be installed with the required clearances from wood surfaces, benches and other components.
Electrical connection should be completed or inspected by a qualified electrician. Do not energize the heater until assembly, wiring, sensor placement and heater-stone installation have been checked.
9. Prepare the Heater and Sauna Stones
Use only sauna stones approved for the heater.
Before installation:
- Rinse loose dust from the stones if instructed.
- Allow them to dry.
- Remove cracked or unsuitable stones.
- Arrange them according to the heater manual.
- Do not pack them so tightly that airflow is blocked.
- Do not place stones against exposed electrical connections.
The stones should support airflow through the heater while covering the heating elements as required by the manufacturer.
Only add water to a heater specifically designed for water-on-stone use. Never pour water directly onto controls, sensors, lighting or other electrical components.
10. Complete the First-Use Safety Check
Before the first sauna session, confirm:
- The sauna stands level and stable.
- All wall and roof connections are secure.
- The electrical installation matches the product specifications.
- The heater and temperature sensor are correctly positioned.
- The ventilation openings are unobstructed.
- The wooden heater guard has been properly installed and secured.
- The sauna stones are arranged correctly.
- The door opens outward and does not lock occupants inside.
- All packaging, tools and protective film have been removed.
- Nothing is resting on or near the heater.
Run the initial heating cycle according to the manual. Some models require an initial test or conditioning cycle before normal use.
Remain nearby during the first heating cycle and monitor the controls, heater, lighting and temperature response.
Stop the unit immediately if you notice:
- Smoke
- Sparking
- Repeated breaker trips
- Melting components
- Abnormal electrical noise
- Control errors
- Excessive heat around wiring or connections
Contact customer support or a licensed electrician before using the sauna again.
11. Common Installation Mistakes to Avoid
The most common preventable installation problems include:
- Preparing the wrong voltage or receptacle
- Scheduling electrical work before choosing the exact model
- Installing the sauna on carpet
- Failing to level the base
- Ignoring roof and wall clearances
- Blocking ventilation openings
- Using extension cords or adapters
- Discarding packaging before testing
- Failing to inspect shipping damage
- Pouring too much water over the stones
- Using an indoor sauna outdoors
- Applying interior paint, varnish or harsh chemicals
- Modifying factory wiring
- Energizing the heater before checking the stones and sensor
A few minutes of verification before assembly can prevent expensive electrical, structural and service problems later.
12. Traditional Sauna Maintenance
Traditional saunas require relatively simple routine care.
After Each Use
- Place a towel on the bench during use.
- Wipe away visible perspiration or water.
- Remove wet towels and accessories.
- Allow the sauna to cool.
- Leave the door partially open until the interior is dry.
- Make sure ventilation openings remain clear.
Monthly
- Wipe benches and interior wood with a lightly damp cloth.
- Avoid bleach, abrasive cleaners and strong household chemicals.
- Check the door, hinges and handle.
- Confirm that the controls and thermometer operate normally.
- Look for blocked ventilation openings.
Periodically
- Inspect sauna stones for cracking or deterioration.
- Rearrange or replace stones according to the heater instructions.
- Tighten accessible hardware if needed.
- Inspect outdoor roofing, seals and exterior wood protection.
- Reapply exterior wood protection according to climate and product instructions.
Do not apply conventional paint, polyurethane or furniture varnish to the hot interior unless the product is specifically approved by the sauna manufacturer.
Frequently Asked Questions
Can I assemble the sauna myself?
Many modular sauna cabins are designed for homeowner assembly with two or more adults. However, the electrical circuit, receptacle and heater connection should be installed or inspected by a licensed electrician.
Does a traditional sauna need plumbing?
A traditional sauna that creates occasional steam by adding water to heated stones does not necessarily require a plumbing connection.
If the sauna includes a separate steam generator, automatic water supply or other water-based accessory, additional plumbing or drainage may be required.
Does a sauna need a floor drain?
A floor drain is not required for every modular sauna. The answer depends on the model, installation location, expected water use and local building requirements.
Avoid using excessive water inside a sauna that is not designed with a drain or waterproof floor system.
Can I install a sauna on carpet?
Installing directly on carpet is generally not recommended. A flat, moisture-resistant and easy-to-clean surface is preferable.
Are all traditional saunas 240V?
No. Electrical requirements depend on heater output and cabin size.
Most of our current models use 240V power, while certain compact models may use 120V or 240V. Always verify the specifications for the exact model before preparing an outlet or circuit.
Can I use a plug adapter for a 240V sauna?
No. An adapter does not change the voltage, circuit capacity, wiring or breaker requirements. Use only the connection method specified for the sauna.
How long does installation take?
Assembly time varies depending on the model, site preparation, access, number of installers and electrical readiness.
Preparing the floor, circuit and delivery path before arrival generally makes the installation process much more efficient.
Can an indoor sauna be installed outdoors?
Only if the manufacturer specifically approves the model for outdoor installation. Indoor models may not have the roofing, exterior wood treatment, seals or weather protection needed for outdoor exposure.
Plan Before You Purchase
The most successful sauna installations begin with the correct measurements and electrical preparation.
Before ordering, confirm:
- Indoor or outdoor placement
- Available width, depth and ceiling height
- Delivery-path dimensions
- Floor and foundation condition
- Required voltage and circuit
- Distance from the electrical panel
- Local permit or HOA requirements
- Access for assembly and future maintenance
Explore our traditional indoor and outdoor steam saunas, review the electrical specifications for each model, or contact our support team before installation.